Sound Control
So why do we care so much about noise in our house? Primarily it stems for a need to create a peaceful environment when dealing with pain flares. You can read more about that here. I have a heightened sensitivity to noise and it can compound an already problematic tinnitus issue. This makes sleep extremely challenging, which in turn increases pain. Secondly, as a multigenerational family we also noticed a lot of sound transfer for example water pipe noise from a washroom wall shared with a bathroom wall. Toilet flushing in the middle of the night could wake a baby or small child, or just a creaking floor as you left the room.
A good night's sleep is important to everyone, but with so many different sleep schedules, despite trying smaller mitigation techniques like sound machines, carpeting and felt pads, there was still lots of sound transfer.
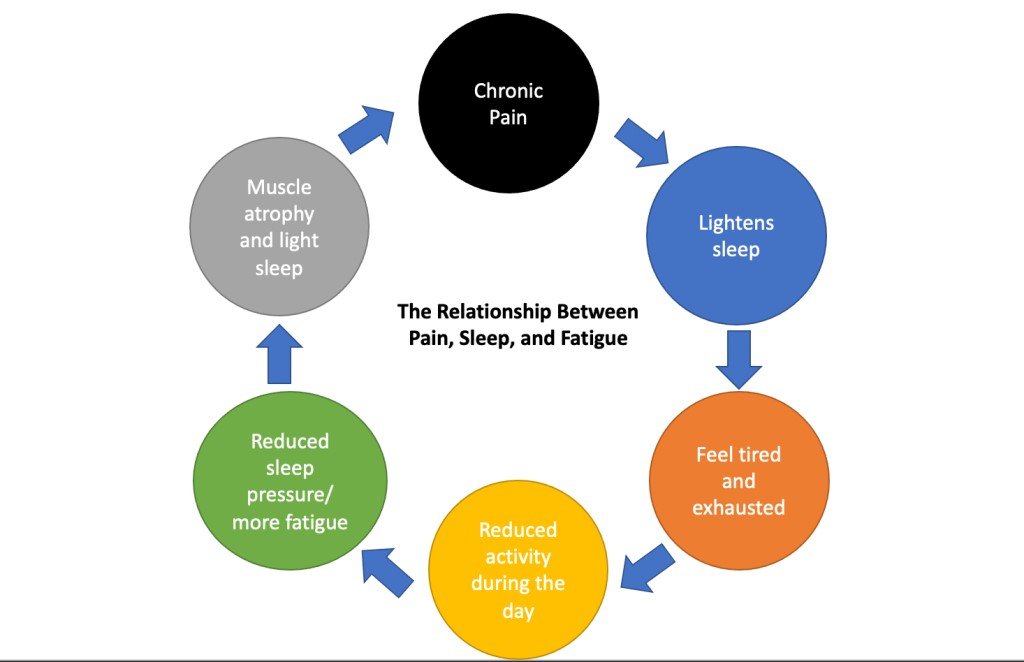
The Relationship Between Pain and Insomnia Article. Click for full text.
From a building perspective you can control some points of transfer for example outlets in shared walls should be offset, ducts need to be examined to see how they could carry sound, and openings placed to minimize these transfer points. The fewer transfer points the better.
Sound travels in waves, and your finishes can either amplify the wave, letting sound bounce more or it can trap the energy of the wave, reducing its ability to transfer. The images below are from this article if you want to read more.
The first day I was on the jobsite after the SONOpan went onto the walls, I walked into the house and tried to find the person I was looking for. I eventually found them in the room next to where I had been standing, but despite them being in the middle of a conversation I hadn't been able to hear them at all! That's when I knew that adding SONOpan was going to be the secret sauce in this attempt to control sound in a wood framed house.
Previously adding a legal income property into the basement required lots of fire-proofing in between our floors, and we had used Safe and Sound; a rockwool product, with steel strapping and type x drywall to manage both a fire threat and sound transfer. Unfortunately our ceiling height in the basement did not accommodate the use of resilient channel which could have helped further but once living with the renovation, we realized there were 2 weak points in the system.
1, our subfloor was extremely creaky and that sound transfer overwhelmed any sound insulation.
2, ducts in the floor and ceiling of the basement transfer a lot of sound. There isn't much you can do about this.
We were lucky enough to be visited by our Sonopan regional rep, who pointed out to me that the attic would not be insulated between the rooms and this may be a point of transfer. We are hoping spray foam in the attic acts as a sound absorbing layer, bit of I had a taller attic I would certainly consider continuing the Sonopan up. He also made some suggestions about where to best use the SONOpan for maximum effort, helping with the budget. If you want to read a bit more about this, check out this article here.
Here is how we managed the sound between floors:
-Padding installed under vinyl plank flooring.
-New subfloor
-Filled all cavity space with Safe and Sound.
-Removed ducts where possible.
Notes:
We looked into using SONOpanX under our flooring, but our vinyl floor was too thin for this installation, and we did not want to raise the floor further with additional plywood - it would have impacted our minimal thresholds. This is definitely an option I would consider for another project.
Could not add resilient channel but would have been nice if we had the ceiling height.
Here is how we managed the sound between rooms:
-Filled all cavities with rock wool.
-Controlled back-to back installations of outlets and ducts, making sure they did not overlap.
-For bedroom walls, added SONOpan layer in between studs and drywall.
-Also added sonopan to outside of mechanical room, as interior of mechanical room was too complex for install.
-Spaced outlets and wall vents apart from each other so they are not back-to-back between rooms.
-Filled in the cavity between wall assembly and door frames. Your trim is usually hiding a big gap!


